SUPPLIES
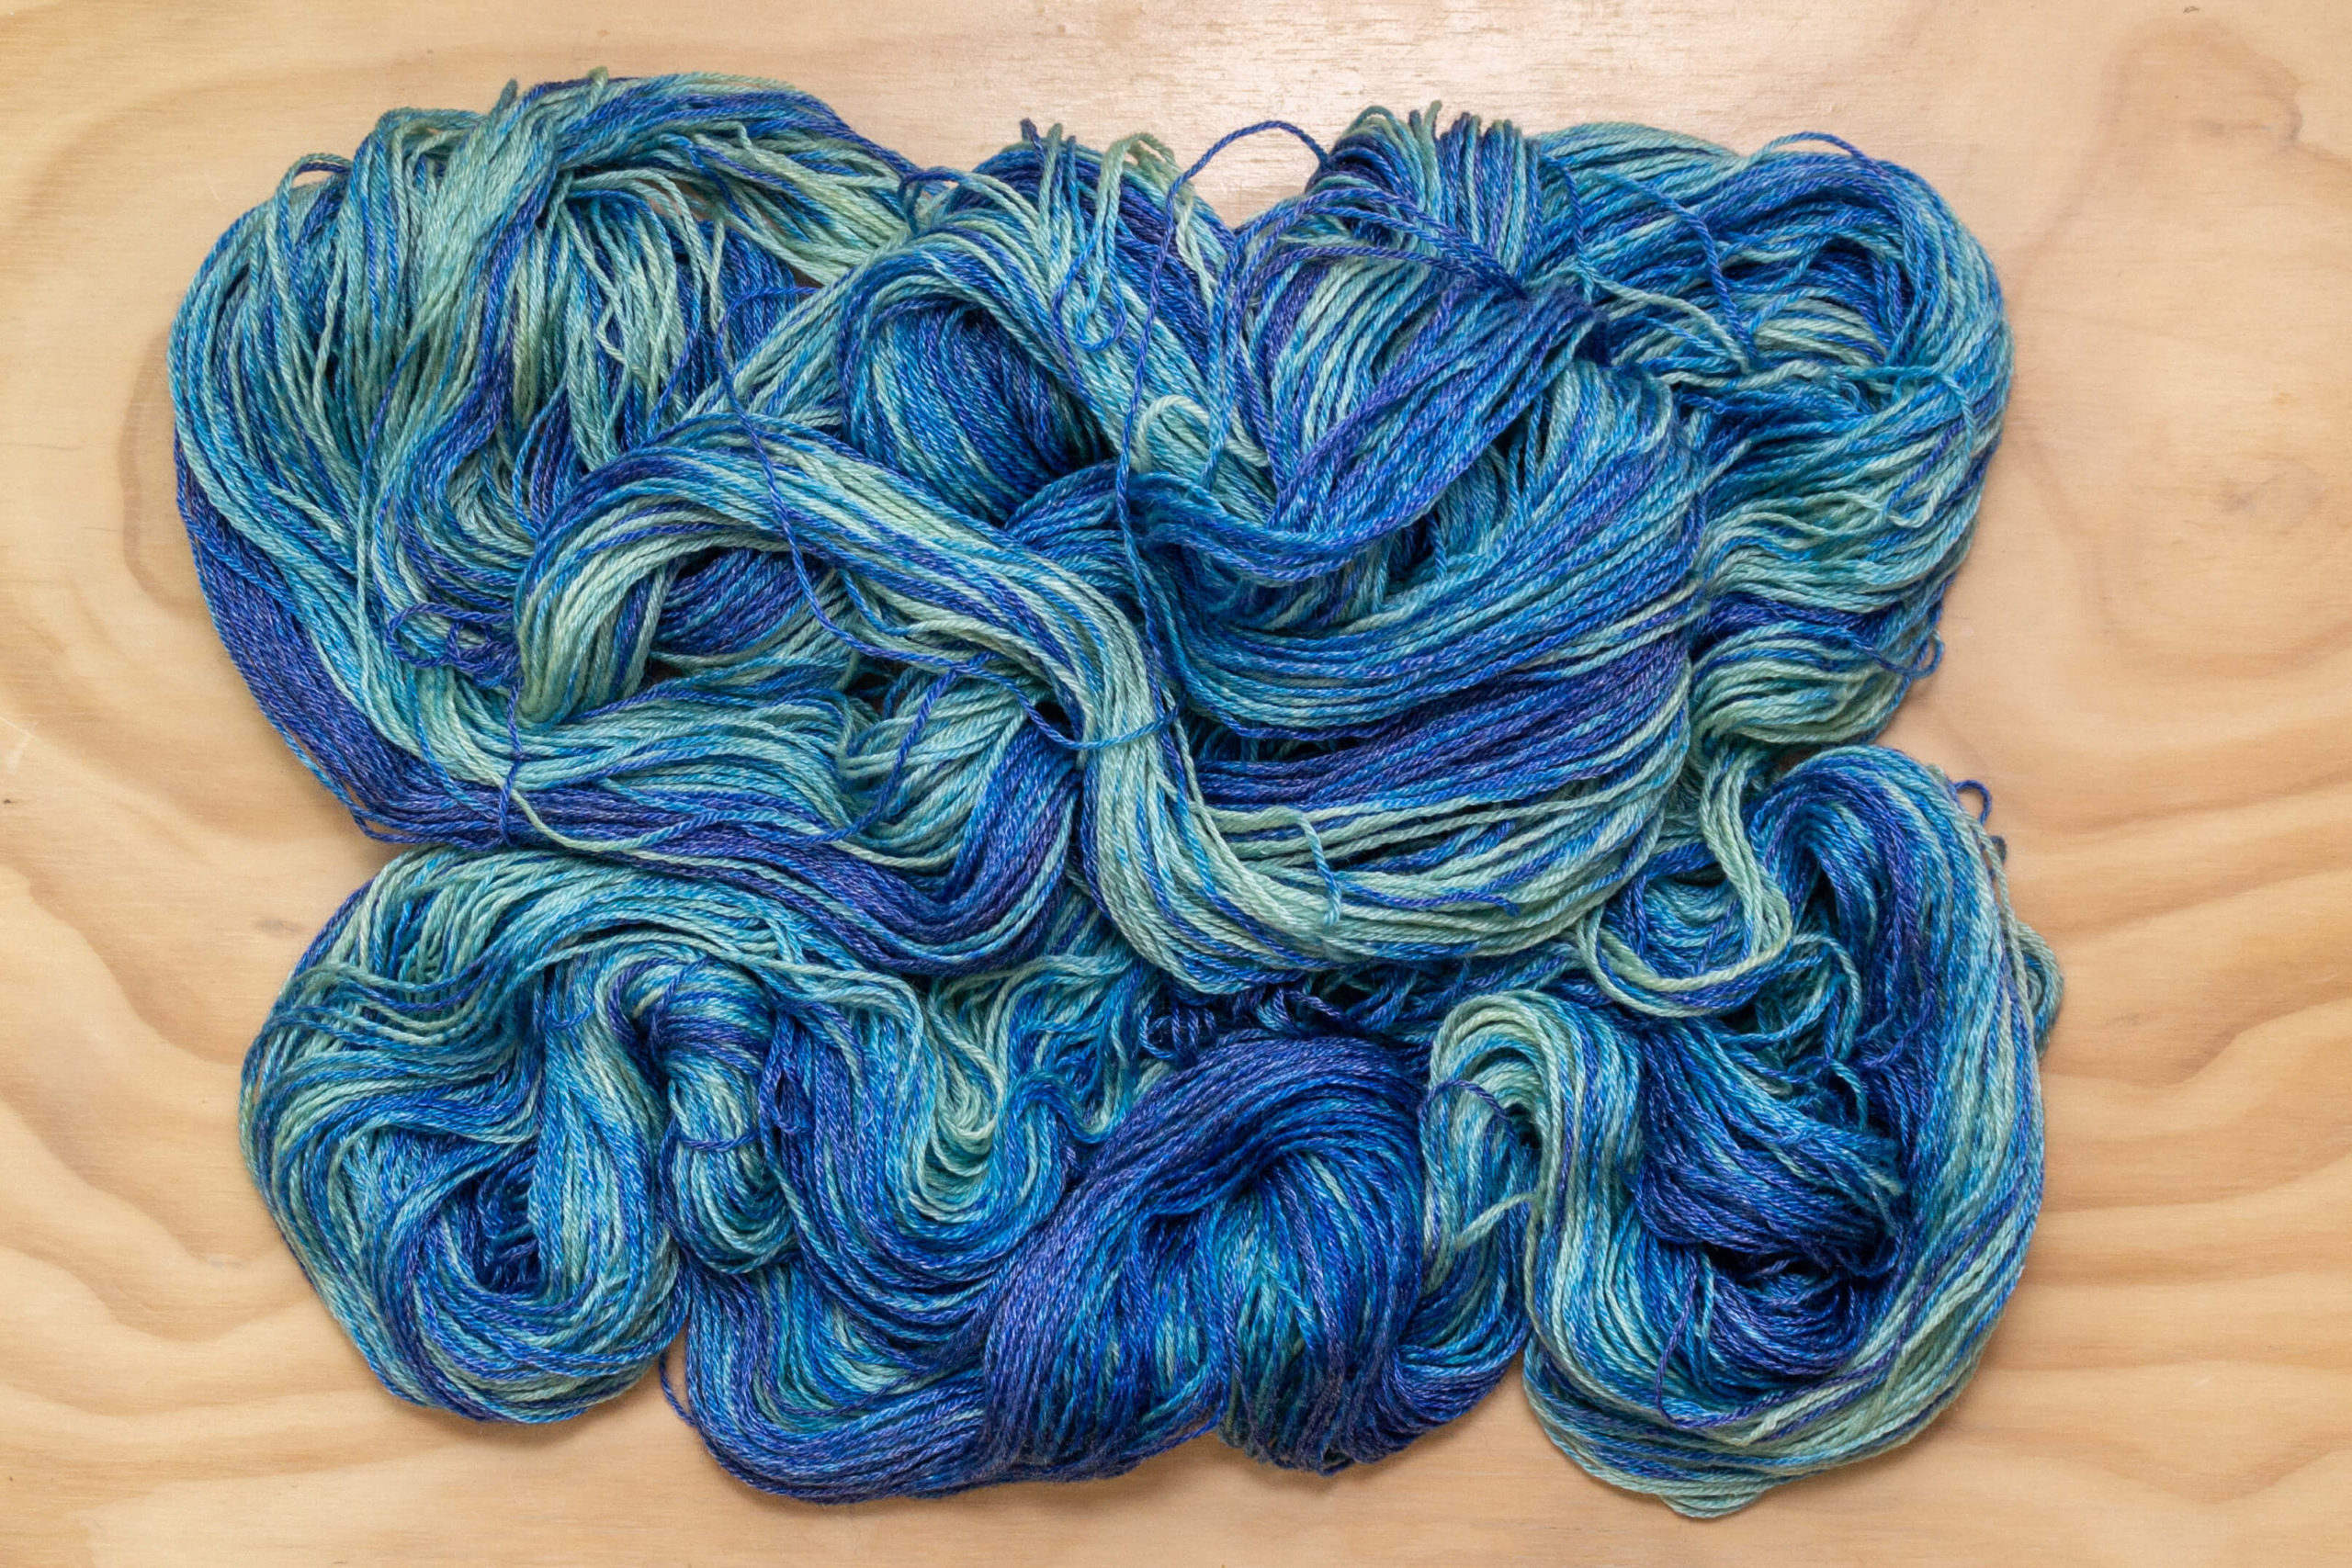
- 2 skeins ASPERITAS (already dyed a light green)
- Dharma Acid Dye in BABY BLUE EYES
- Two large bowls
- Water
- Ball winder and yarn swift
- Dye pot with a lid and heat source (I use a slow cooker)
- Tongs
- Citric acid
- Gloves
- Respirator
- Spoon or fork for mixing
- Measuring spoons in 1 and 1/2 TSP
- *all supplies used to acid dye are no longer food safe and should be separated from your regular kitchen supplies
PREPARATION
Start with yarn that is already dyed a light color. Take care to consult the color wheel before choosing which colors to blend. Layering complementary colors can create a muddy brown, so be careful unless that is your desired end color! Testing your color combination with a small strand of yarn will help you plan your finished yarn. The skeins of ASPERITAS used here were dyed initially with Dharma Trading Company Pistachio dye. The over dye is a blue that blends well with the light green of the base color.
CAKE THE YARN
To create this variegated ombre effect, the yarn will be dyed while it is in cake form. Load your yarn into the swift and use a ball winder to turn each skein into a cake. The cake creates a resist effect in the dye bath because the yarn is layered on top of itself so that the dye does not penetrate evenly throughout. This creates pockets of color with the outside and edges of the cake being darker while the yarn will get lighter towards the center core.
PRESOAK
Fill both bowls with cool water. Dissolve two tablespoons of citric acid into each bowl. Submerge one cake per bowl until the yarn is fully saturated and the yarn is darker in color evenly throughout the strands. This opens the protective cuticle layer on protein fibres allowing the dye to penetrate and bond to the core.PREP THE DYE
Fill the bottom of your dye pot with a two inch layer of the hottest water from your tap. While wearing your respiratory protection and gloves, dissolve one and a half teaspoons of BABY BLUE EYES into the dye pot. Stir slowly until the powder is fully dissolved, scraping the sides and bottom of the dye pot. Dissolve a tablespoon of citric acid into the dye pot. Fill the dye pot up to about two inches from the top with lukewarm water. Stir to ensure the dye is well distributed. TIP: You can use the water from the pre soaking bowls to fill up the dye pot and skip adding the additional acid.
ADD THE YARN AND HEAT
Drain the water from the pre soaking bowls. Submerge both cakes into the dye pot. Do not allow them to touch in the dye bath. The water should flow freely around each cake. Put the lid on the dye pot and turn on the heat. Bring the dye bath up to just below a simmer, which should be around 180 degrees Fahrenheit or 82 degrees Celsius. Keep the dye bath hot for at least 45 minutes to an hour, or until the dye bath is exhausted. A dye bath is exhausted when the water around the yarn is clear. This means all available pigment has been absorbed by the yarn.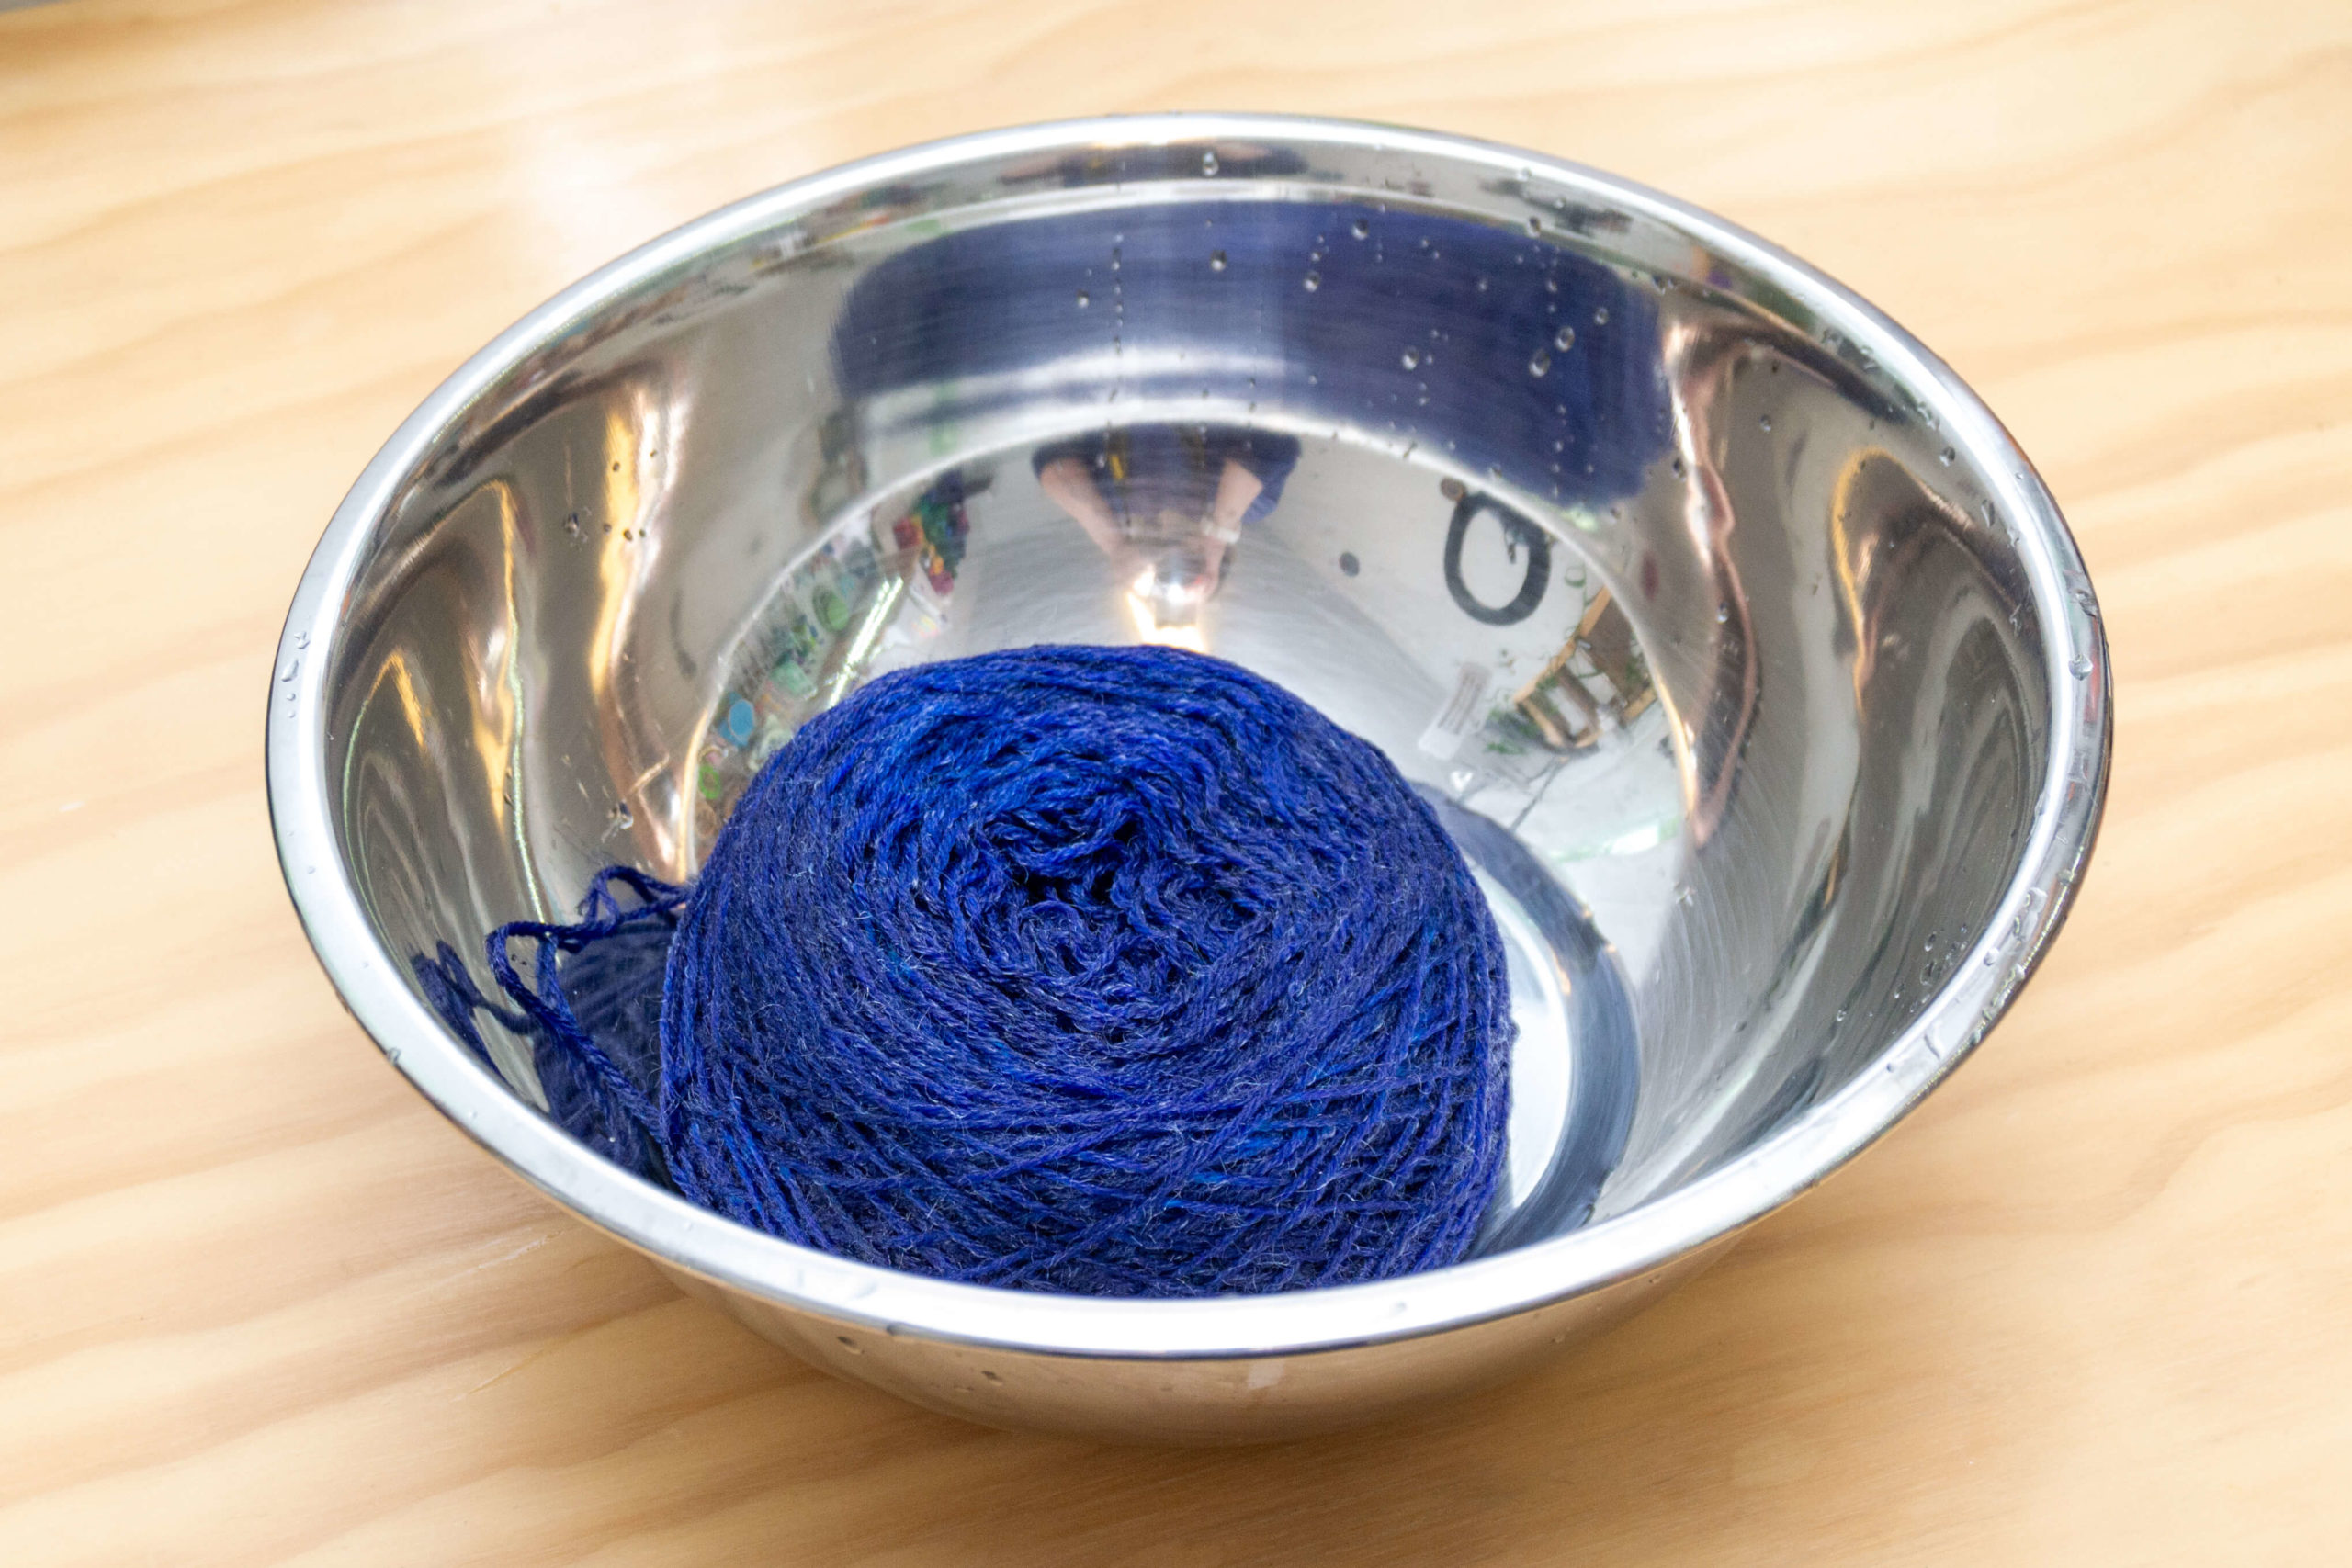
COOL, RINSE, DRY
Once the dye bath is exhausted, remove it from the heat and allow it to cool fully. Rinse the yarn gently while it is still in the cake, ensuring that the rinsing water runs clear. Carefully drain and squeeze out the excess water. Using the center pull from the cake, use your yarn swift to wind the yarn back into skein form. This can get a little messy, so you may want to allow the cake time to drain and dry a little before using the yarn swift to minimize excess drips. Hang the yarn up to dry after it has been wound into a skein.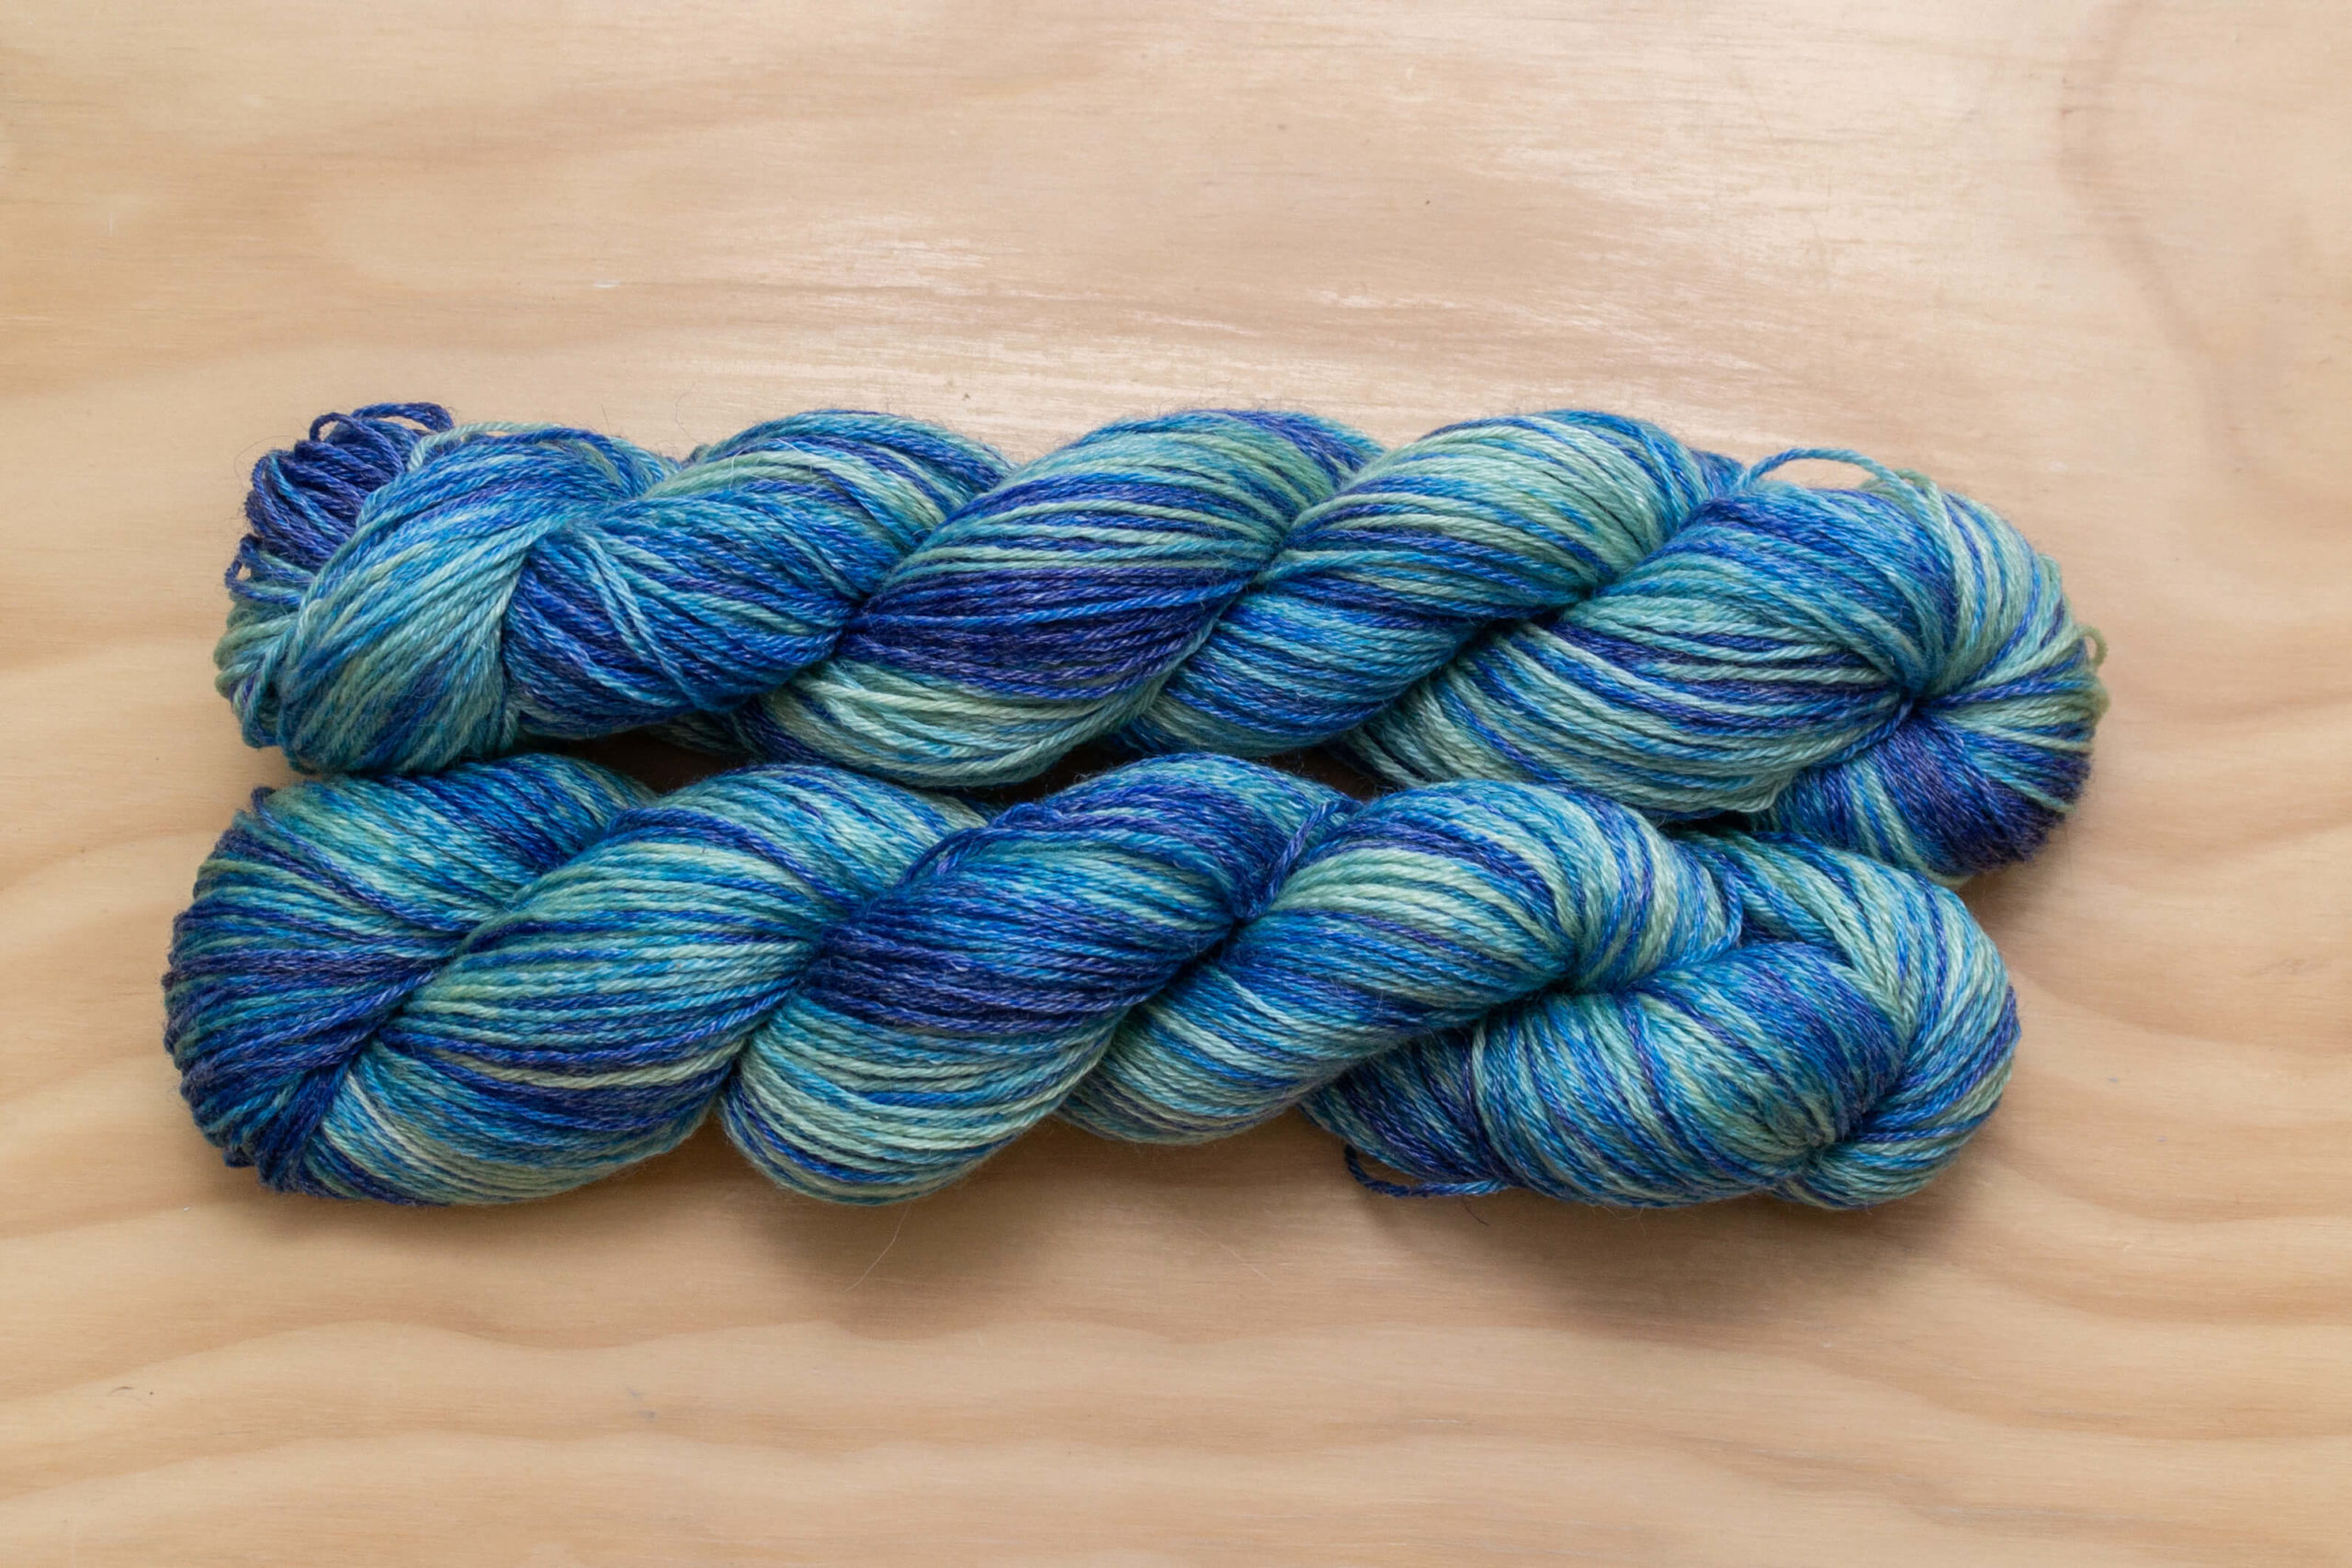
THE FINISHED YARN
You can see in the finished skein the different sections of color and how the cake creates a variegated ombre in the dye pot. The yarn that was on the outside of the cake is darker and more even in color while the yarn that was in the inner parts of the cake has more flecks and lighter areas of color. I love using this technique to dye up yarn for socks! What would you create with this yarn? Let us know in the comments! And don’t forget to share your work with us on social media using #knomad_yarn and @knomadyarn. We can’t wait to see what you make!